Reproject Raster and Vector Layers with QGIS
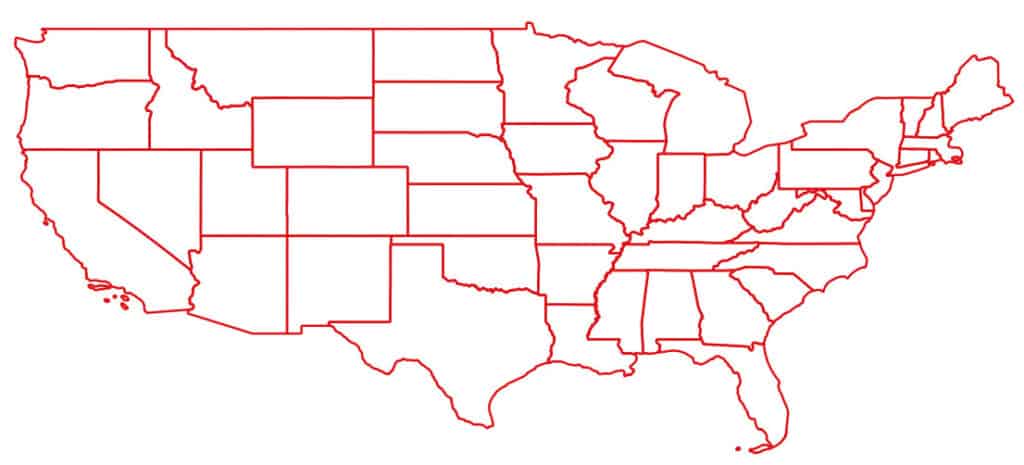
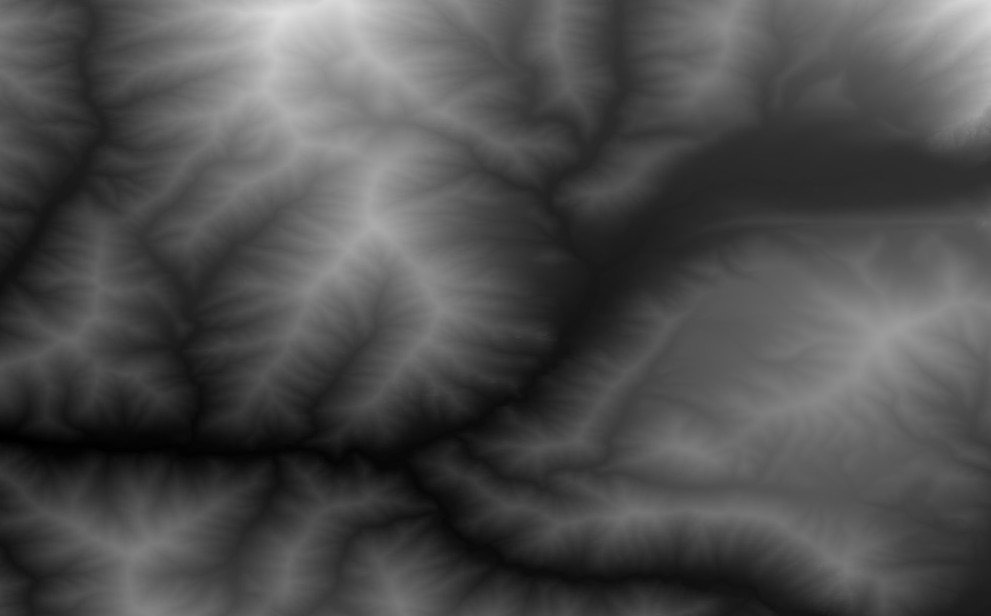
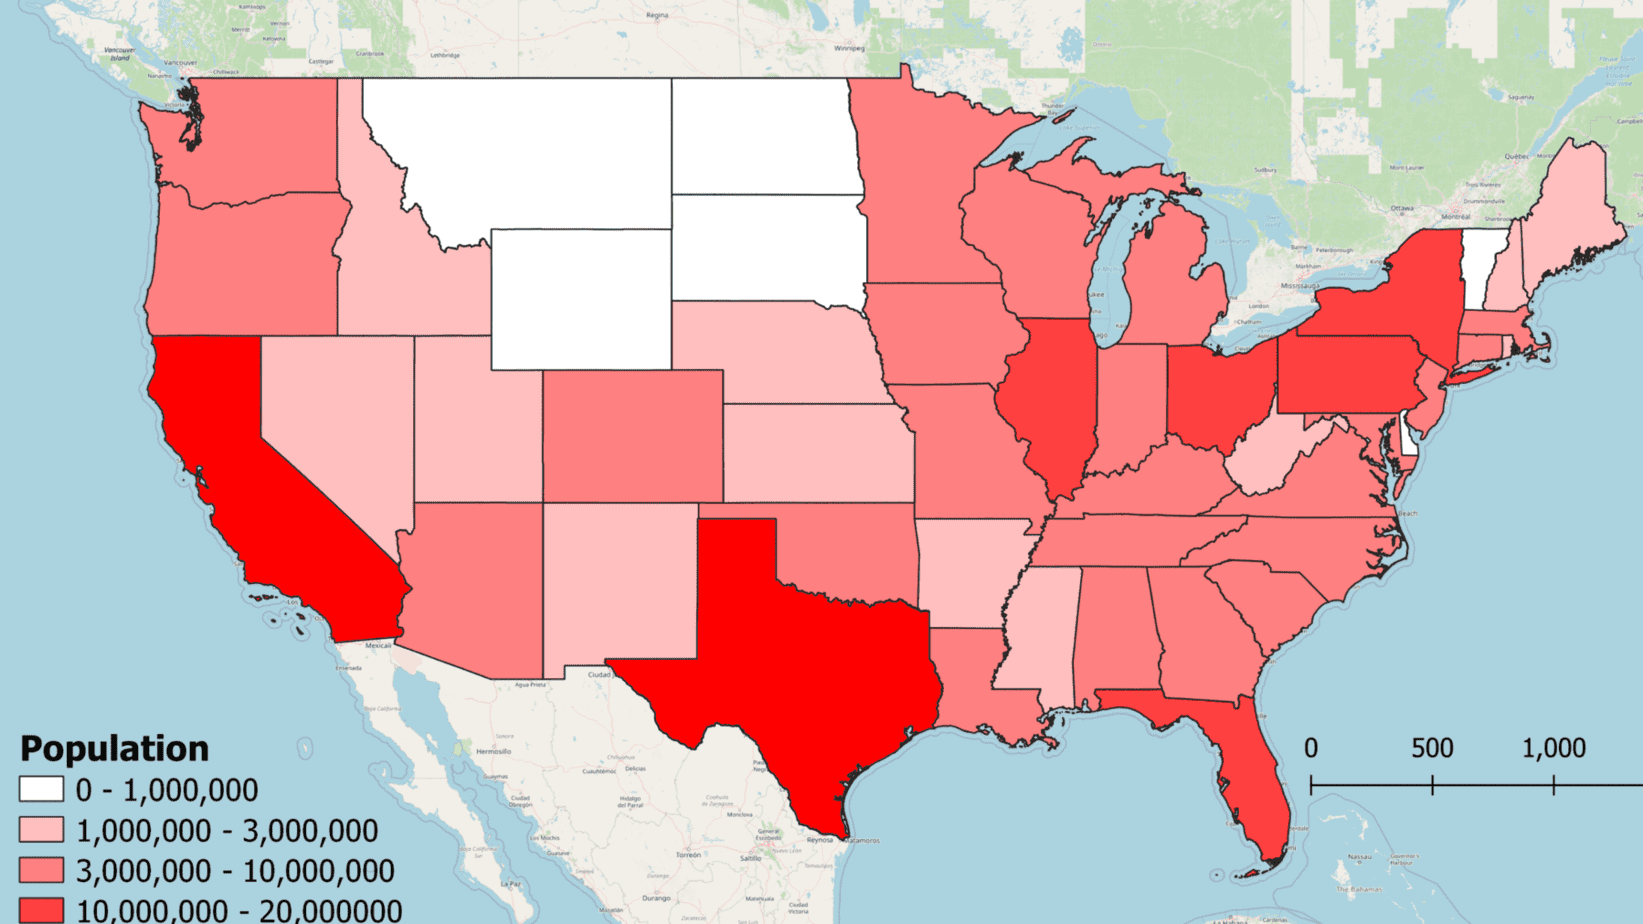
With QGIS reprojections can be calculated with the export data tool, the reproject layer tool, and GDAL Warp. Reprojecting layers (i.e., converting them to a different coordinate reference system, or CRS) is often an important step of geospatial analysis to ensure layers are properly registered and perform distance and area calculations. I’ll demonstrate how to use the export, reproject, and warp methods to reproject raster and vector layers. For demonstration data, I’ll use a vector file representing the states of the USA and a raster digital elevation model (DEM).
How to Reproject a Vector Layer with QGIS Export
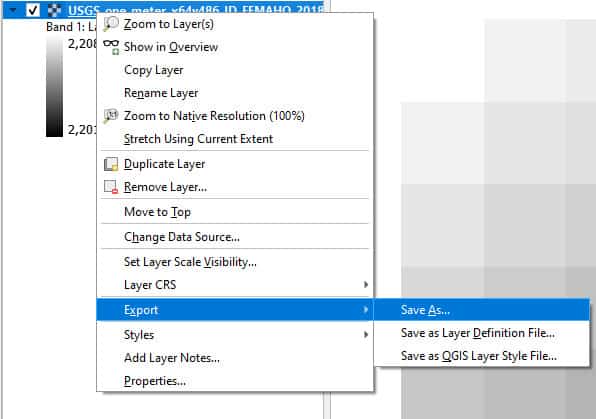
The simplest way to reproject a vector layer in QGIS is using the QGIS export functionality. To reproject with export, simply right-click on a layer in the Table of Contents (Layers panel) hover over ‘Export’, then select ‘Save As’ (see image below). This will open a new window (Save Vector Layer as) where you can make changes to the basic properties of the current layer and save them to a new vector layer. This method can also be used to reproject raster layers (as demonstrated later in the article).
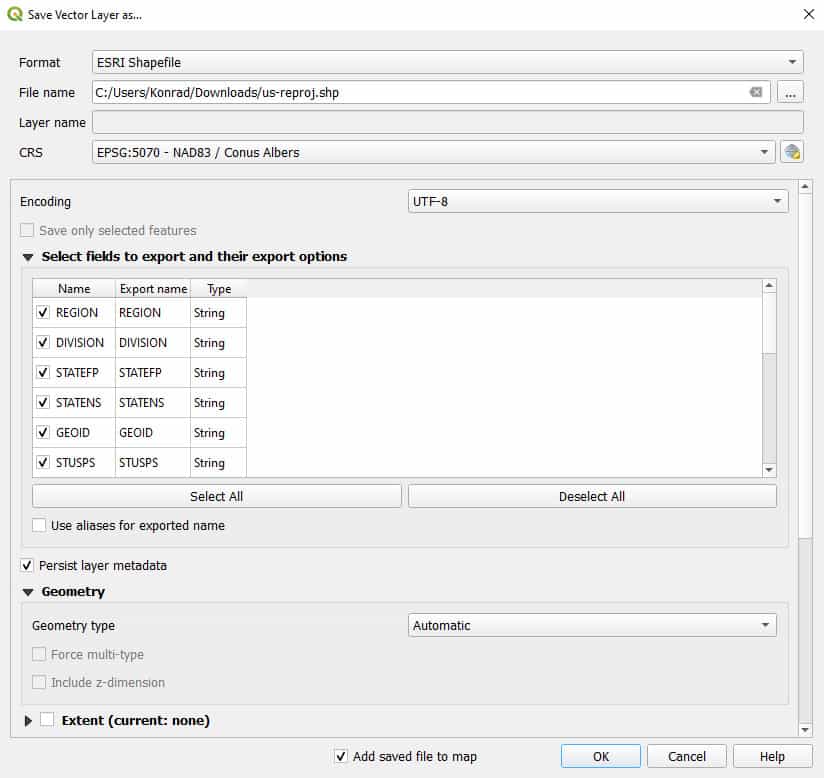
Once the ‘Save Vector Layer as’ window is open, simply change the CRS to the new (reprojected) CRS, and specify a format and file name. You can also make changes to attribute fields and extent. Once you have specified all changes click OK. The layer will be projected to the new CRS and all other changes will be applied.
How to Use the QGIS ‘Reproject Layer’ Tool to Reproject Vector Layers
The QGIS Reproject Layer tool converts a vector layer from one CRS to another. This tool can only be used for vector layers (reprojecting raster layers is covered in the next sections of this article).
There are two ways to open Reproject Layer.
- Search for ‘reproject’ in QGIS search box (usually in the bottom-left corner of the interface) and select the QGIS ‘Reproject layer’ tool
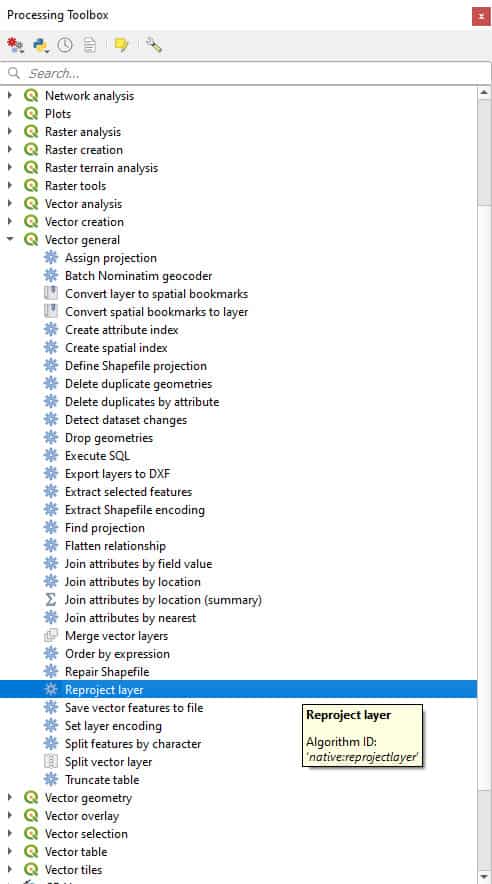
- Open the Processing Toolbox and open the tool from Vector general > Reproject layer (see image below)
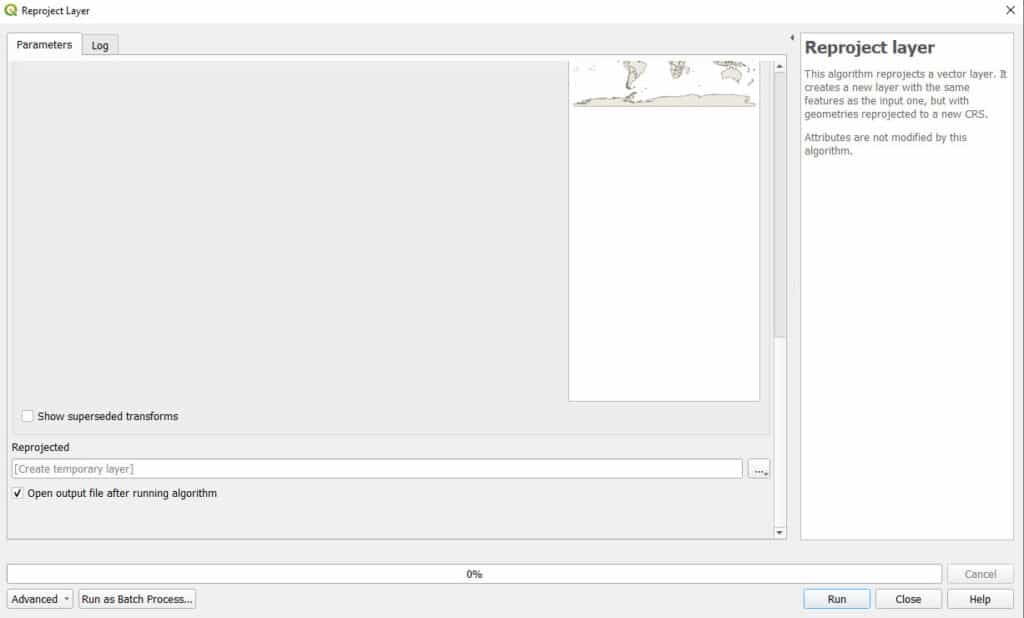
After selecting the tool a new window will open where you will specify the reprojection settings.
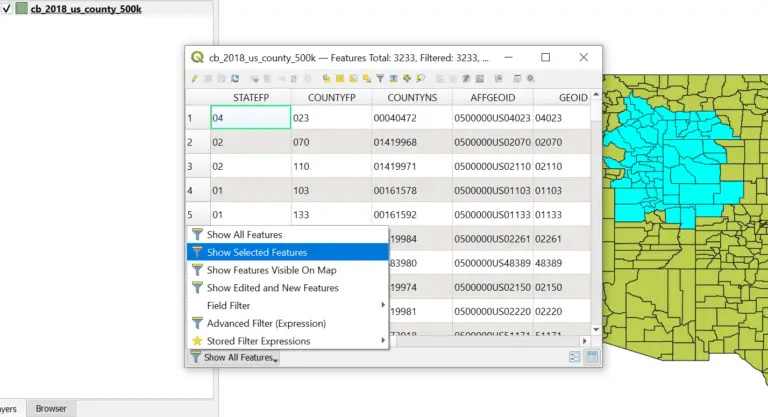
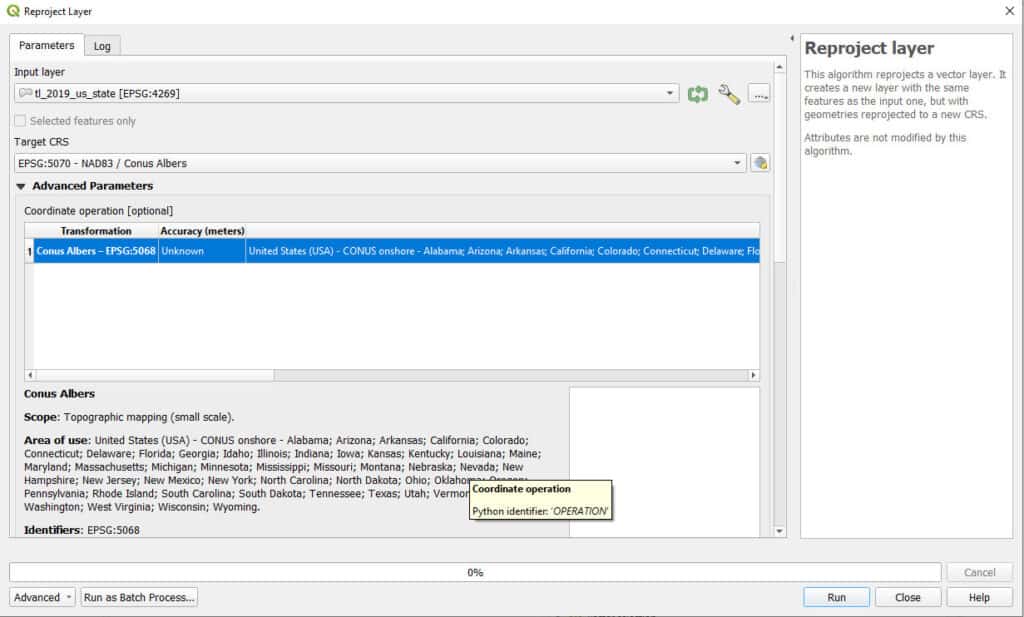
In the Reprojct Layer window you just need to specify two things. The Target CRS. The CRS (i.e., projection) you wish to assign to the output layer and a file name for the output layer. The two images below demonstrate these settings. Then click ‘Run’ and the reprojected layer will be generated.
In this example, I am converting the USA state boundaries from EPSG 4269 to EPSG 5070 and saving it as a temporary layer.
How to Reproject a Raster Layer with QGIS Export
Right-click on a raster layer in the Layers panel and select Export > Save As . . . This will open a new window named ‘Save Raster layer as . . .’ (see images below) where you will adjust the settings and CRS of the output raster.
In the ‘Save Raster Layer as’ window, select the output CRS and specify any other options. In this example, I’m reprojecting the raster from UTM Zone 11 to WGS 84. After specifying the CRS, and other settings, and setting an output file name, click OK. The raster will be reprojected and saved as a new file.

When reprojecting raster layers from a projected CRS to a geographic CRS, you will often notice a shift in the grid orientation. In the images below you can see the result of the shift when projecting from UTM to WGS 84.


How to Use GDAL Warp to Reproject a Raster in QGIS
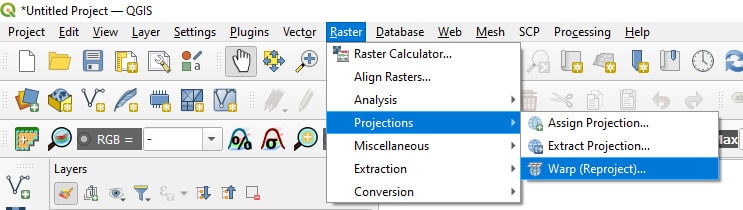
Raster layers can be reprojected in QGIS using GDAL Warp. Access GDAL Warp from the QGIS Main Menu (see image below) by clicking Raster > Projections > Warp (Reproject). You can also search for ‘warp’ or ‘reproject’ in the QGIS search box.
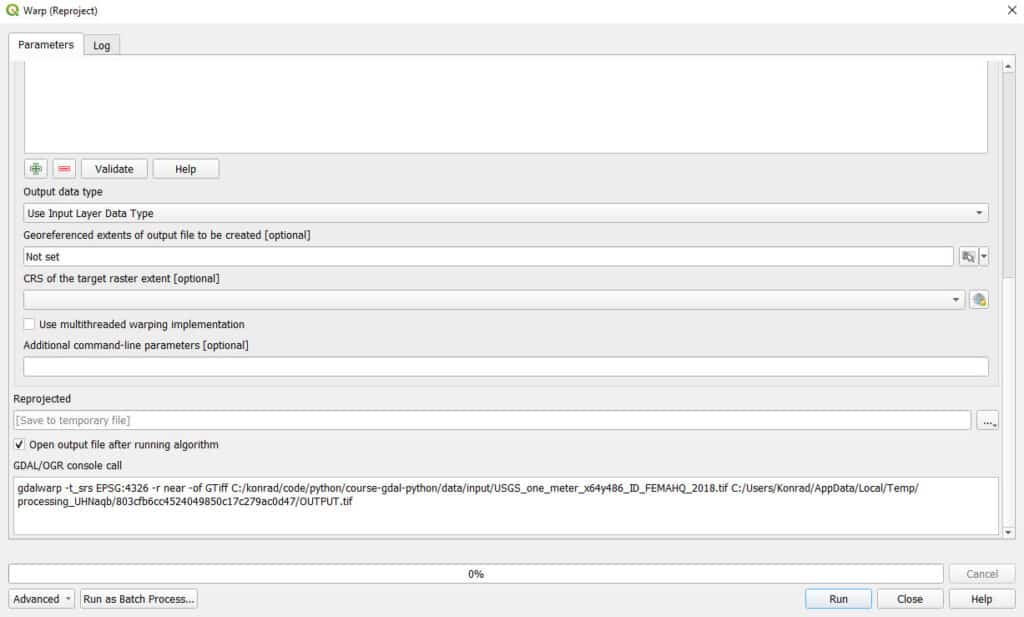
In the GDAL Warp window specify the Target CRS (the new CRS that you want to reproject to) and the output file. GDAL Warp offers a lot of flexibility for raster reprojections. If the input raster does not have an assigned projection you can set it with Source CRS. You can also change the resampling method, output extent, and compression options. Once the settings are ready, click Run and the new, reprojected layer will be generated and saved.

Conclusion
There are multiple options to reproject vector and raster layers in QGIS. Learning each method will ensure you have a reprojection solution that you can use in multiple situations. Understanding how to reproject is important for preparing layers for geospatial analysis.
Whether you’re looking to take your GIS skills to the next level, or just getting started with GIS, we have a course for you! We’re constantly creating and curating more courses to help you improve your geospatial skills.

All of our courses are taught by industry professionals and include step-by-step video instruction so you don’t get lost in YouTube videos and blog posts, downloadable data so you can reproduce everything the instructor does, and code you can copy so you can avoid repetitive typing