Up next in 10

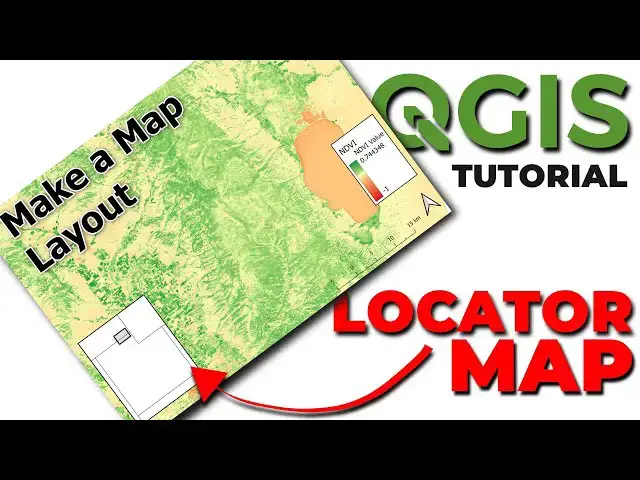
Add overviews and location maps to a QGIS map layout. This tutorial demonstrates how to create a locator map (or location map) in QGIS.
Check out my website for more: https://opensourceoptions.com
Show More Show Less View Video Transcript
0:01
Welcome to Open Source Options. Thank
0:02
you for joining us today. In a previous
0:05
video, I showed you how you could create
0:07
a map layout for QGIS. Today, we're
0:10
picking up on that map layout, and I'm
0:12
going to show you how you can add a
0:13
locator map to show where in the world
0:16
this specific place is located. It's
0:19
really easy to do, but it also but it is
0:22
something important that adds a lot of
0:24
context to your map. So, let's go ahead
0:27
and get started. Before I do anything, I
0:30
want to make sure that this map layout
0:33
I've already created this map um doesn't
0:36
get changed. The way to do that is to
0:40
select our map. So, we have map one
0:42
here. It is selected. I want to come
0:44
down here and in the layers section, I
0:47
want to choose lock layers. I can also
0:51
lock the styles for this layer and that
0:53
will ensure that no matter what I do in
0:56
my map view, my layout view does not
0:59
change. Okay, so we've got that locked
1:02
into place now. All right. Now, let's go
1:06
back to my map view here and make some
1:10
adjustments. So, I don't want to show I
1:13
want to add a new map to my layout, but
1:15
I don't want it to show the NDVI. So,
1:17
I'm going to turn that off here.
1:20
Now I'm going to go back to my layout
1:23
here and I am going to add a new map. So
1:28
to do that I come over here to the add
1:30
map option and I can just click and drag
1:36
to add a new layout. And there you can
1:39
see it brings in that layer.
1:43
Now this is map two. I want to go to map
1:46
two and I want to come down
1:50
and I want to find overviews
1:54
and I can click on overviews here. I
1:56
want to click the plus button to add a
1:58
new overview.
2:00
I can call this overview one
2:06
and we're going to draw it. We want to
2:08
choose the map frame. We want to have an
2:10
overview for map one. So map one here is
2:13
this map at the bottom. And when I
2:15
select that, you can now see this
2:17
overview appears here. That's the area
2:21
that's showing on map two. The area that
2:23
is displayed by map one.
2:26
Now we can adjust this frame. And I'm
2:29
going to come down and I'm going to
2:31
click configure symbol. I'm going to
2:34
choose the simple fill.
2:36
Oops.
2:38
Simple fill. My fill color or sorry my
2:40
fill style is going to be no brush. My
2:43
stroke color will be black
2:46
with a solid line. Let's make this a
2:48
little thicker
2:50
about like that. Let's change the fill
2:53
style to some
2:55
diagonal colors and make those black.
2:58
Also
2:59
just drag this to black there. And now
3:02
you can see my locator map just like
3:04
that.
3:06
Now I can adjust this locator map just
3:08
as any other map. I can come in, go back
3:11
to this backwards here, close the
3:13
overviews. I can click on the
3:16
interactively edit map extent. And now
3:19
when I click and drag or scroll,
3:23
it will adjust that. So I want to be
3:25
something like that. And I can shrink
3:27
the size of this down a little bit now.
3:33
And now I can click back here and I can
3:36
zoom in until this fits
3:41
as I'm interested as I like. Okay. So
3:43
there we go. We now have
3:46
that locked in. And now I'm going to
3:48
come turn a frame on and I'm going to
3:51
bump this up
3:54
till it's about the same thickness
3:59
as that there. Okay. I have my locator
4:01
map
4:03
ready.
4:05
I just want to make a couple of quick
4:07
adjustments to make this look a little
4:08
better. So, I'll go back to my move and
4:10
size tool. I'm going to move my legend
4:13
uh over here.
4:15
And I'm going to drop my locator map
4:19
down here. And you can see that now I'm
4:22
showing NDVI for this area. And I can
4:24
show which area it is located on the
4:27
map. So that's a really easy way to
4:30
create a locator map in QGIS. Uh you can
4:33
imagine that once you understand how to
4:35
put these different map views in, you
4:37
can make locator maps in other ways as
4:40
well. Thanks for watching. Be sure to
4:42
check out Open Source Options for more
4:44
free content with some free professional
4:47
courses on QGIS coming soon. Just sign
4:50
up for the email list to be notified
4:52
when those courses are available.